
Baby Projects…
So for those that don’t know, I am currently in my 3rd trimester, a mere 3 weeks away from my due date (it CANNOT come soon enough) and although my doctor has told me to take it easy and rest as much as possible, that can’t possibly include not crafting. Right? On second thought, don’t answer that. So I’ve spent these days in bed stocking up on inventory, but I’ve also been really loving creating some fun projects for Baby Lomeli #3.
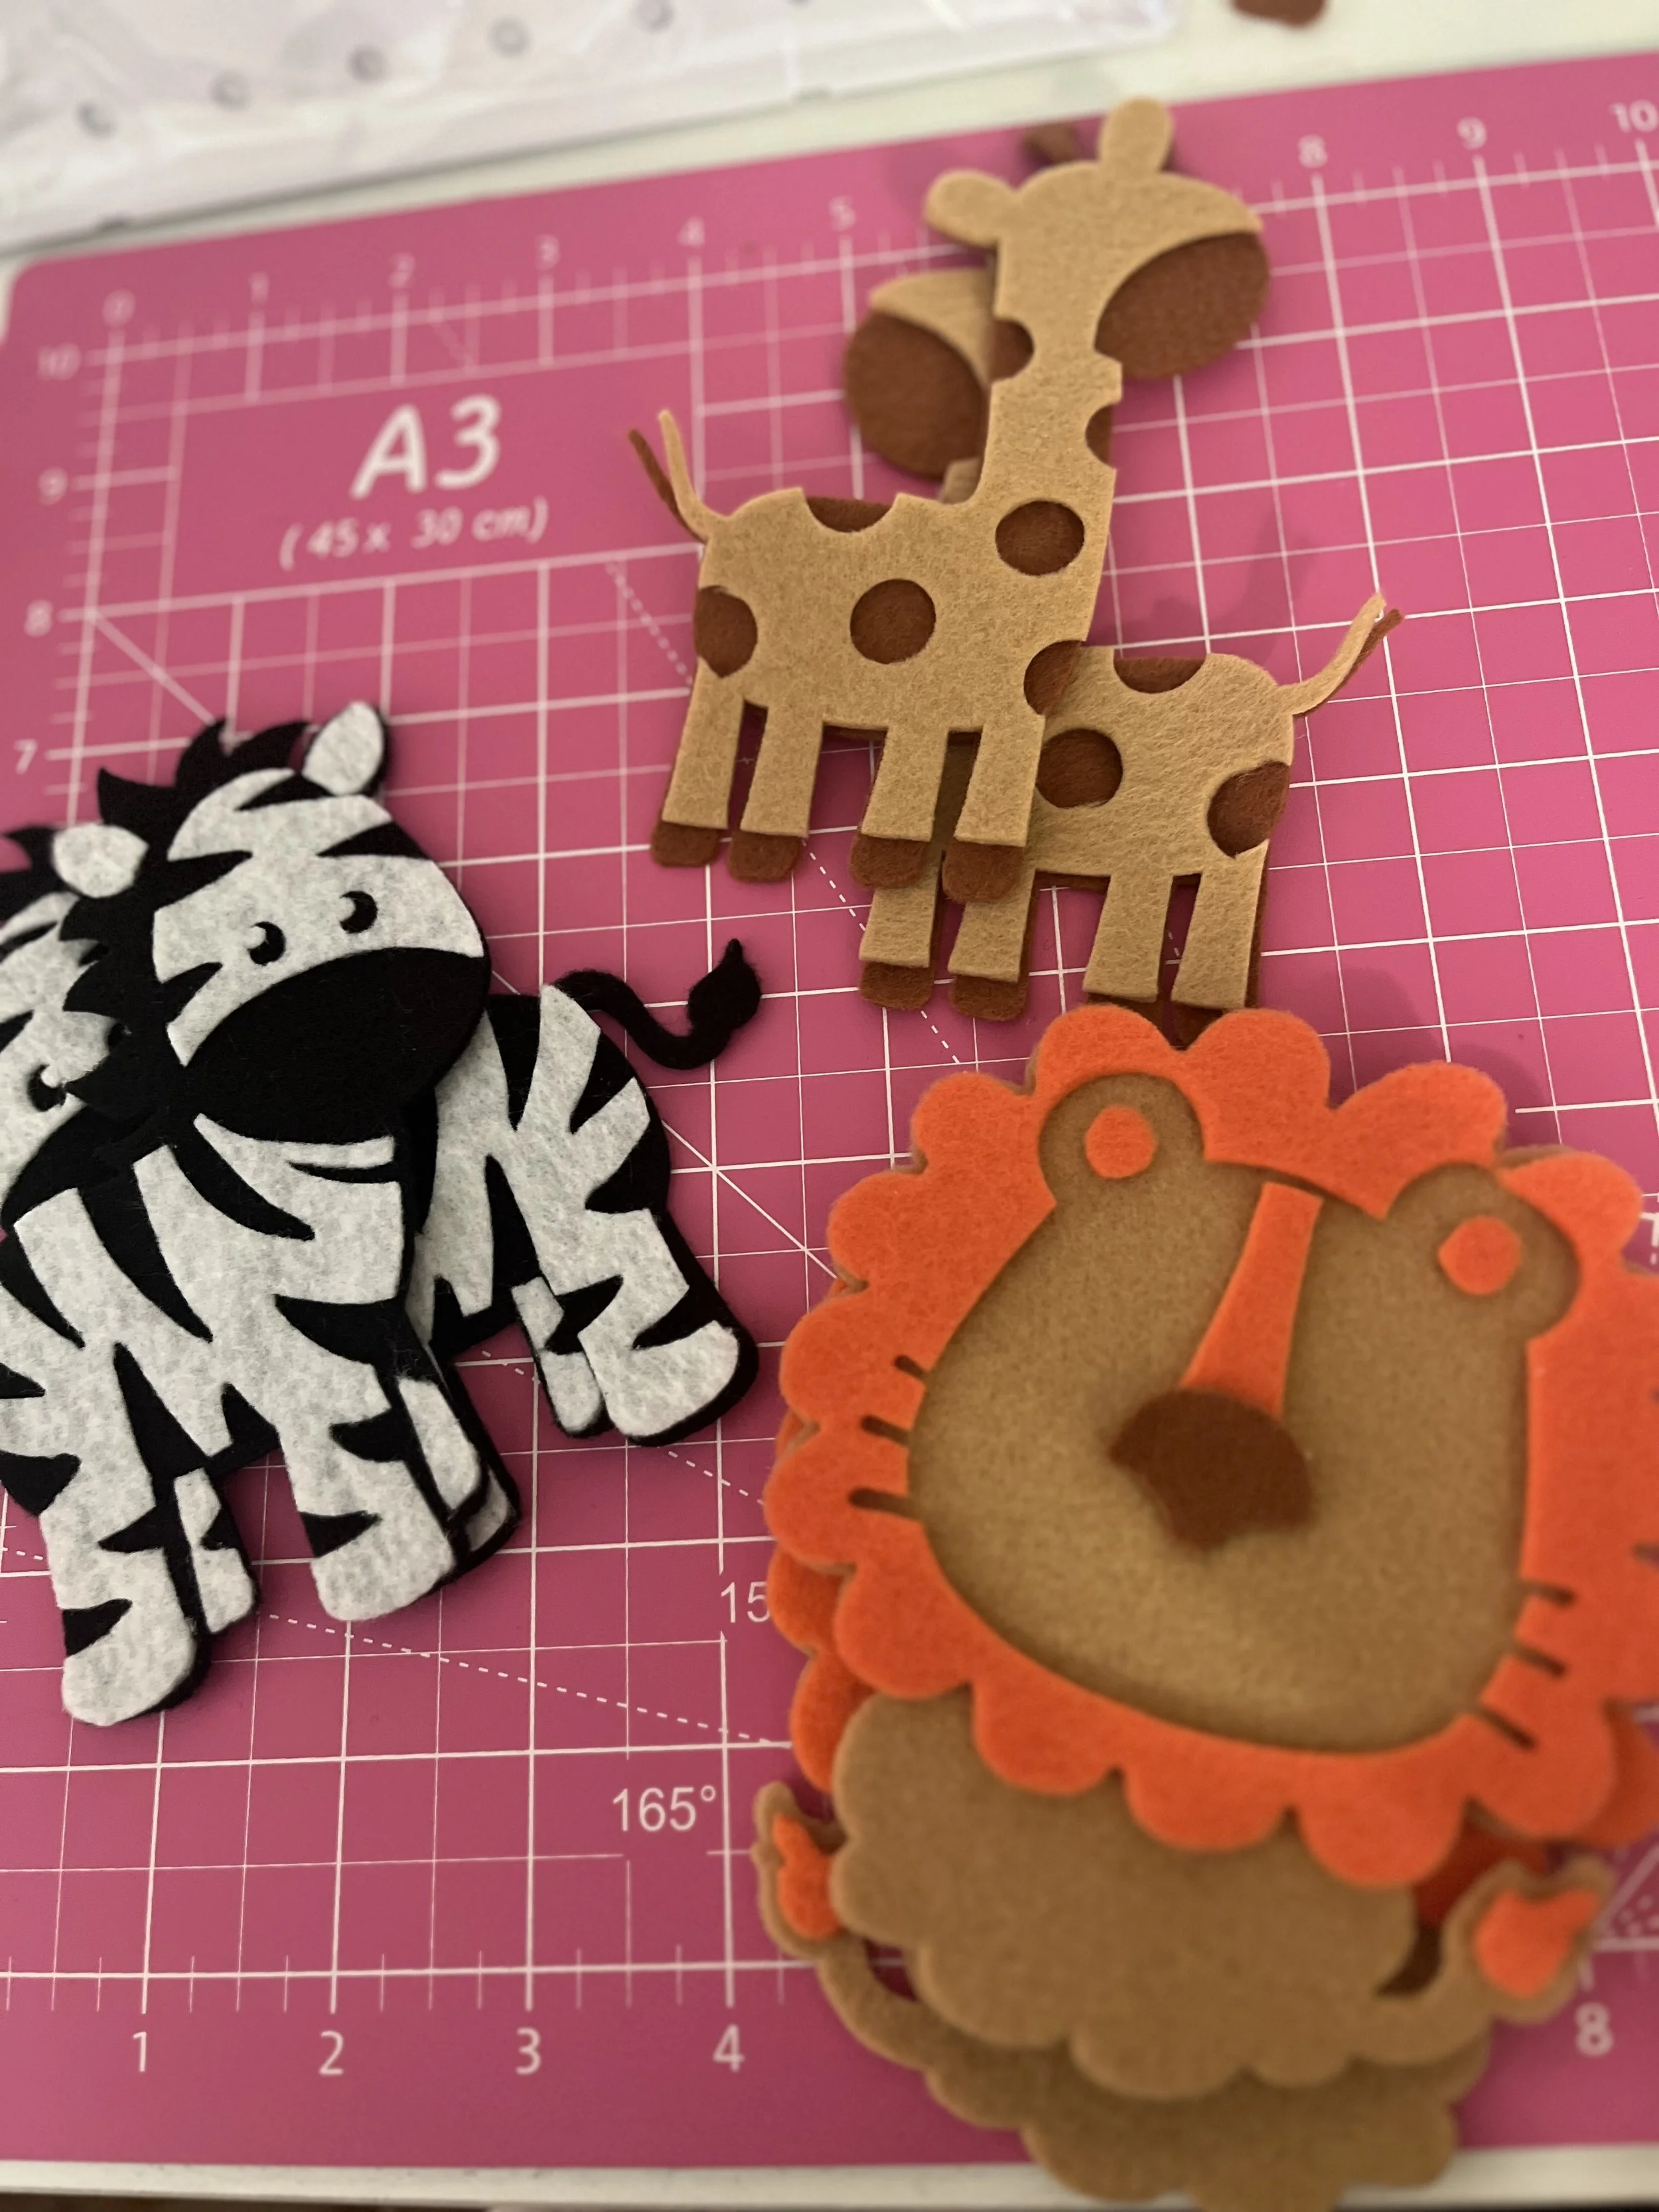
Handmade Felt Stuffies in progress
We’ve had this Greco Pack and Play that we’ve used for Baby #1 and #2 that we keep in the living room and hanging over it were these three little stuffed stars. (Just a tad generic, if you ask me.) Well, after setting up our pack and play in the living room during my nesting frenzy, we realized that one star was missing. Naturally, my husband goes, “Well you can just make something to hang, right?”
“Oh sure, because it’s so easy.” I thought sarcastically to myself. But the thing is, you can’t plant an idea like that in a crafter’s head because now I HAD to make them. So I tinkered away on the Cricut, looked for some simple design cut outs that I could make my own, and
after settling on the designs and sewing and stuffing two of the three little safari animal stuffies, I’m in love with them. These are definitely a cuter option to keep our little man occupied than simple green stars. I’ll be happy to share the design details as well as a picture of the final results once they’re done!

Planets for Baby Lomeli #3’s baby mobile
As I said, I’ve been creating PROJECTS (plural) for the coming little man, but this one was MANDATORY. I’ve made the baby mobiles for my other two kiddos myself during every pregnancy. It’s been my labor of love every time, and it’s so incredibly satisfying finishing a project and knowing that I made this for this little human I’ve been cooking for the last nine months. This time around, I was a little stumped on what his theme should be. Baby #1 got a very sweet, girly and colorful elephant themed baby mobile that was inspired by our honeymoon in Thailand (best vacation of our lives btw). Baby #2 got a felt stuffed dinosaur themed baby mobile, because Jurassic Park is the greatest movie of all time and I’ve been obsessed with it since my own childhood and my goal was to get my own kid just as obsessed. Mission accomplished, of course. But for Baby #3, this one had to be unique and just as vibrant and fun as the other two. So when my husband suggested I make an astronaut themed mobile, I thought, “I can definitely have some fun with that idea!”
This time around, I’ve played with adding beading to the characters to add some interest, and I think I’ve created a problem because now I want to bead ALL my future creations. Don’t give a crafter with ADHD a new hobby because we WILL hyper-fixate on it.
Again, I’ll be posting my final results once hubs has hung it for me (because ya girl is afraid of heights and can’t get on a ladder without getting sweaty palms), but I think this is another winner.
In other news, if anyone has any ideas on how to induce labor at 37 weeks, give me all the tips because little man has been giving me ALL the trouble!
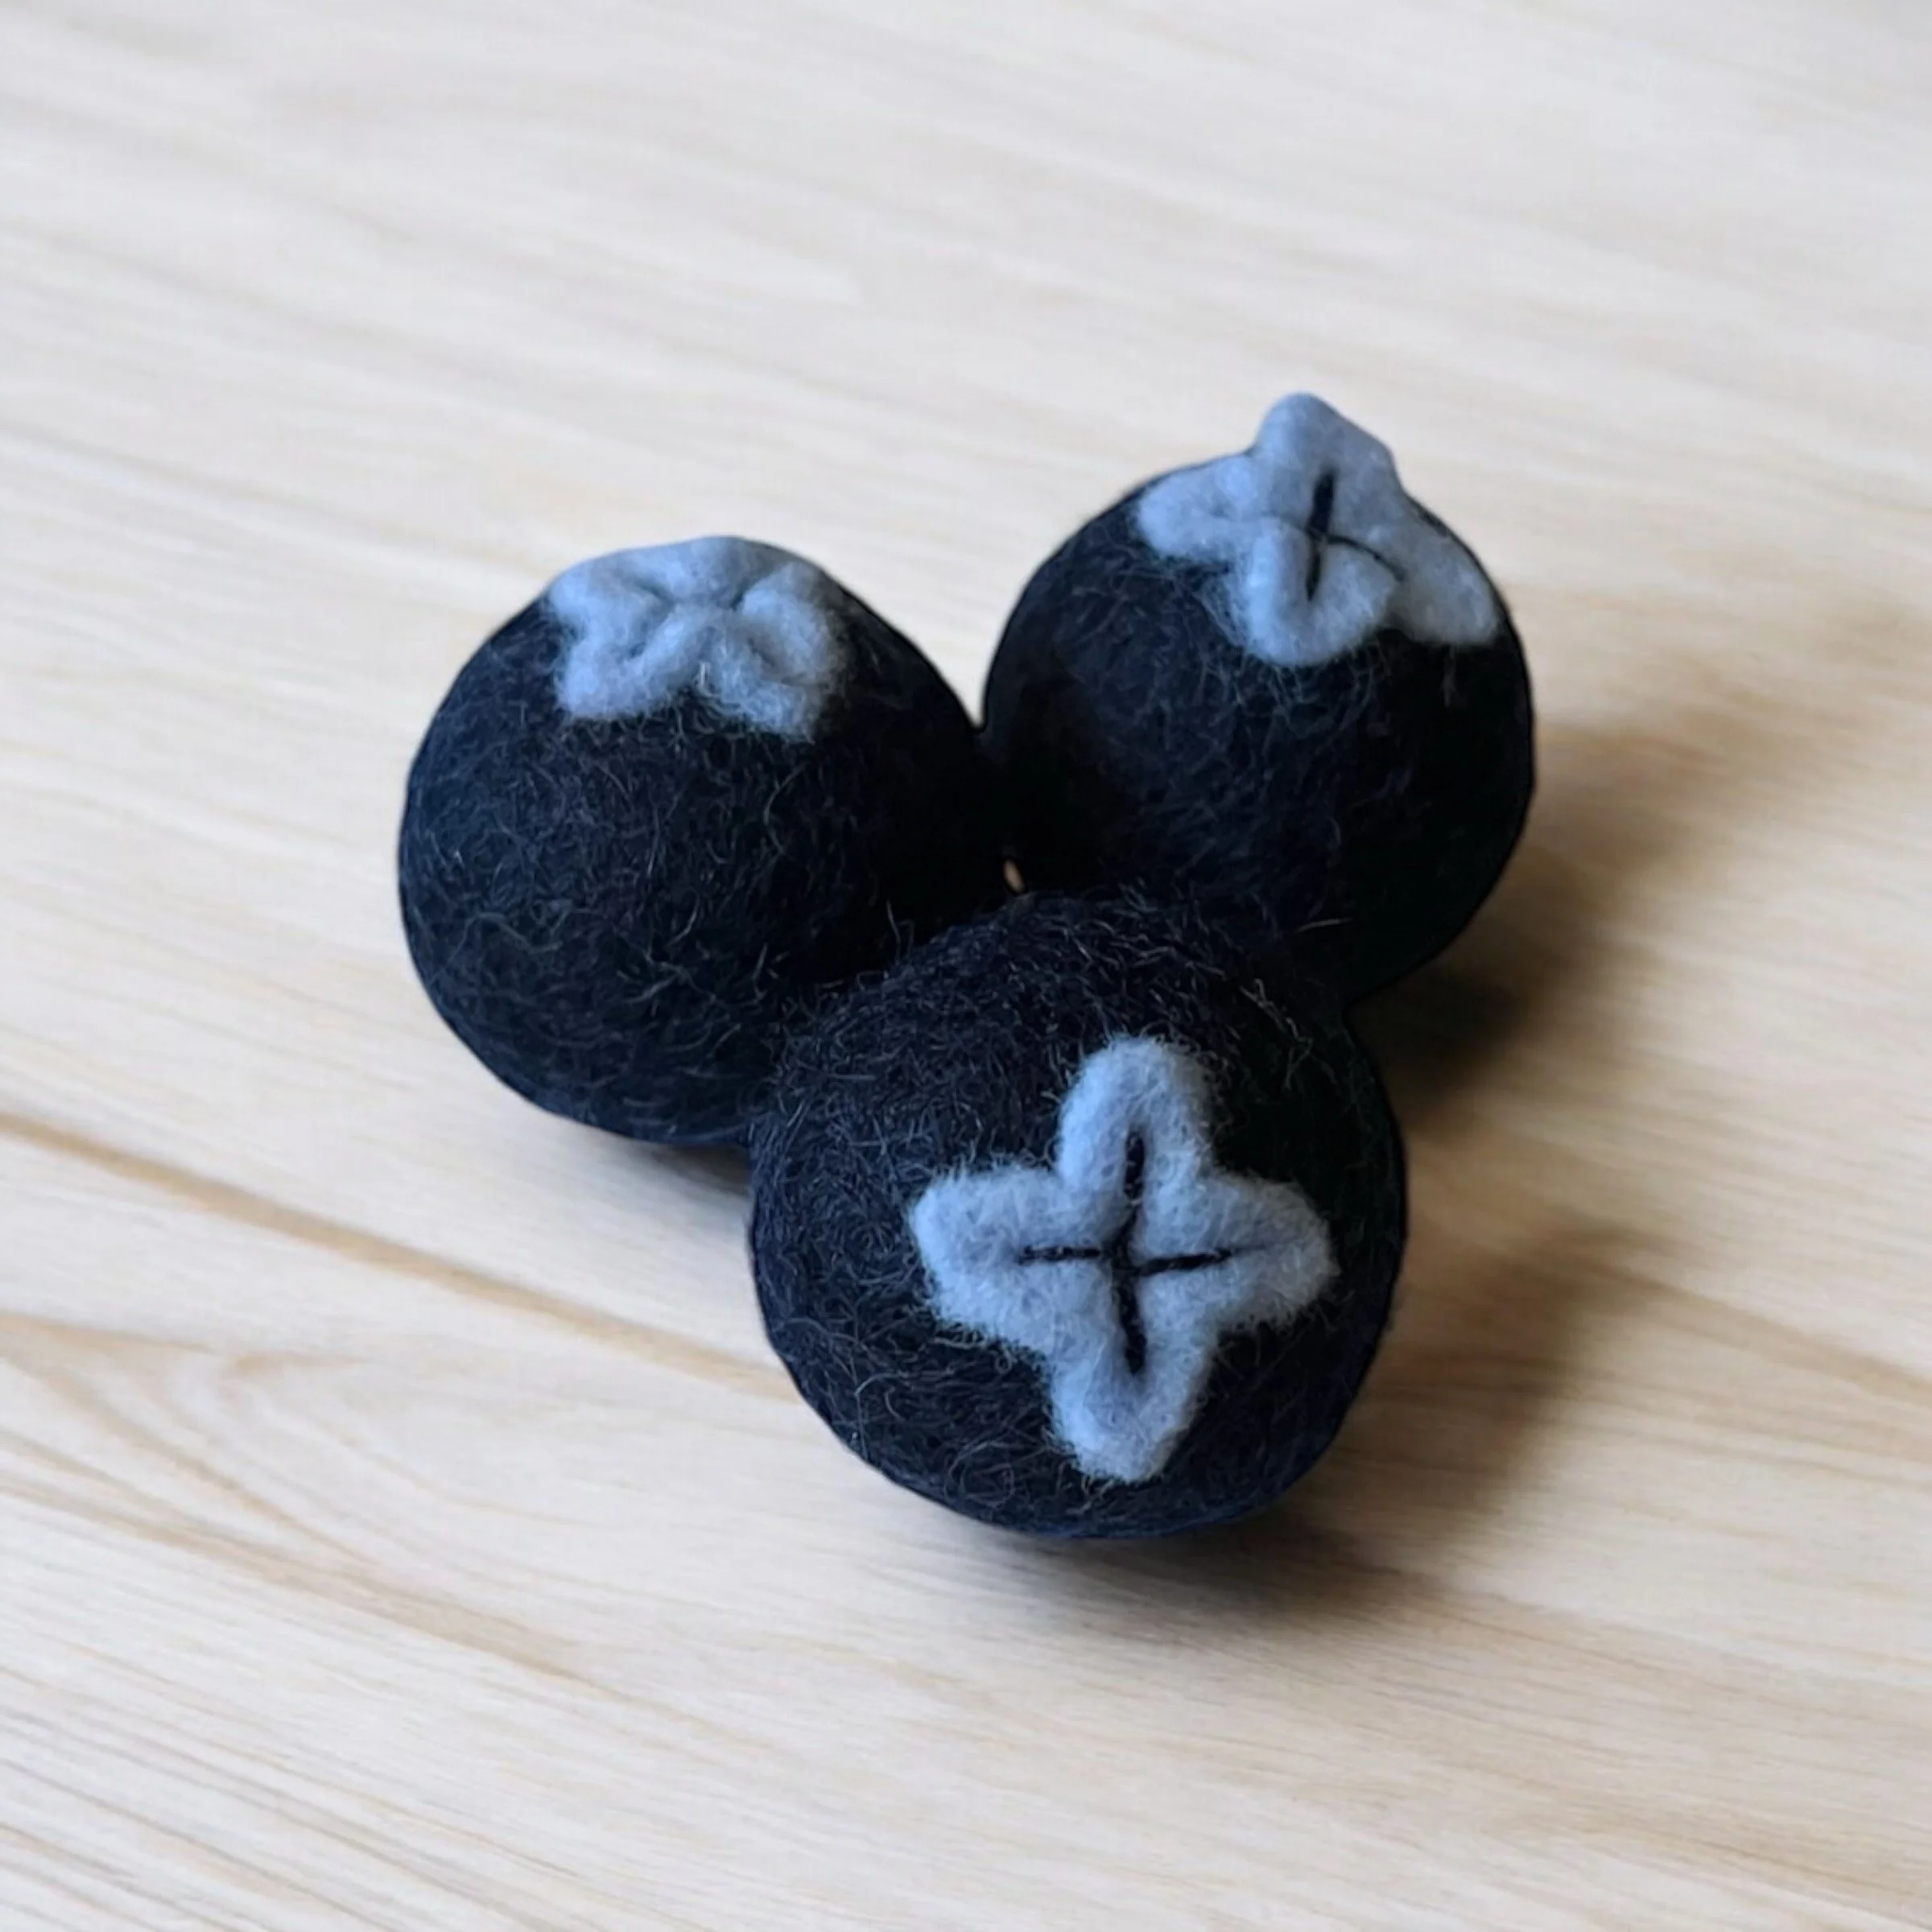
Make a Felt Blueberry with me
Join me as we sew a felt blueberry together, step-by-step!
We don’t gatekeep here. This business started as a hobby that I just couldn't get enough of and had so much fun doing, so I figured, I’m sure someone else would find this just as fun! So why not share how I make one of the quickest and easiest products I sell?
First we start off with the materials:
a dark blue felted ball (about 1 inch in diameter)
a small four-petal light blue flower cut out (half an inch wide)
sewing scissors
dark blue polyester thread
a needle.
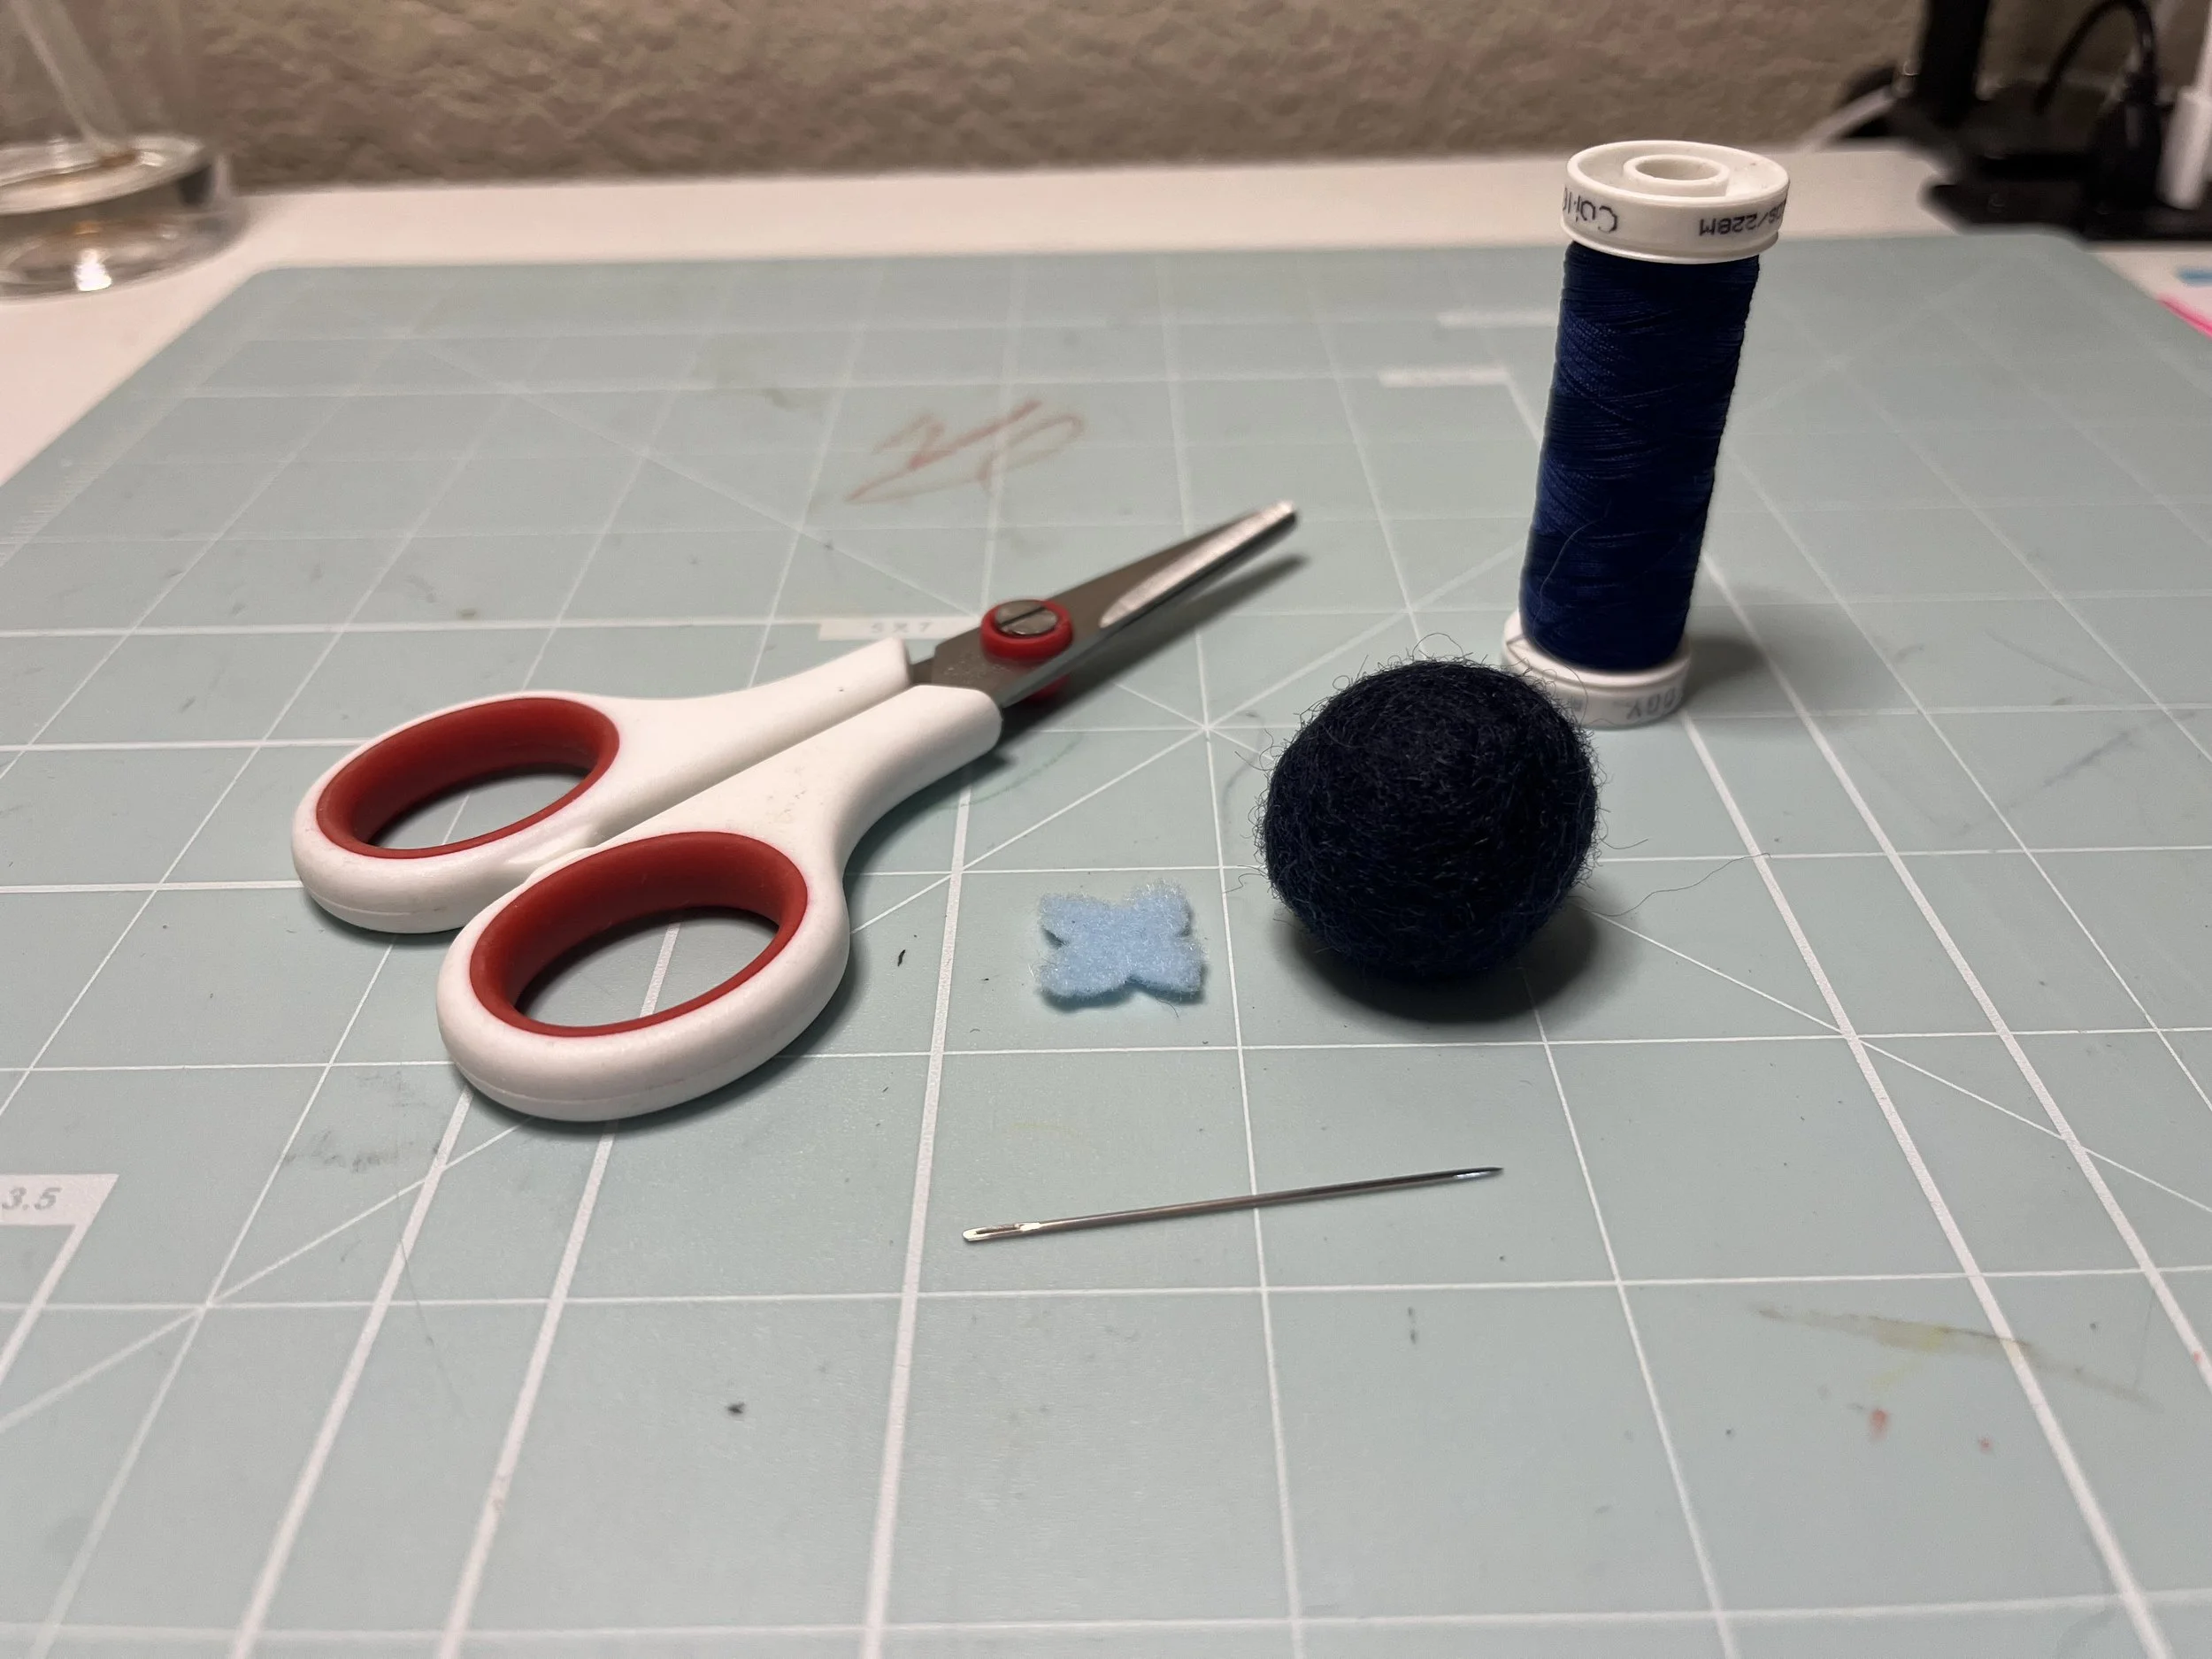
Materials
HOT TIP: For felted balls, I LOVE purchasing them through Benzie Designs. This is totally not sponsored, (hit me up, Benzie Designs!), but I’ve found that their product quality and customer service is just unmatched. As for the needle that I use, I prefer to use a size 8 embroidery needle.
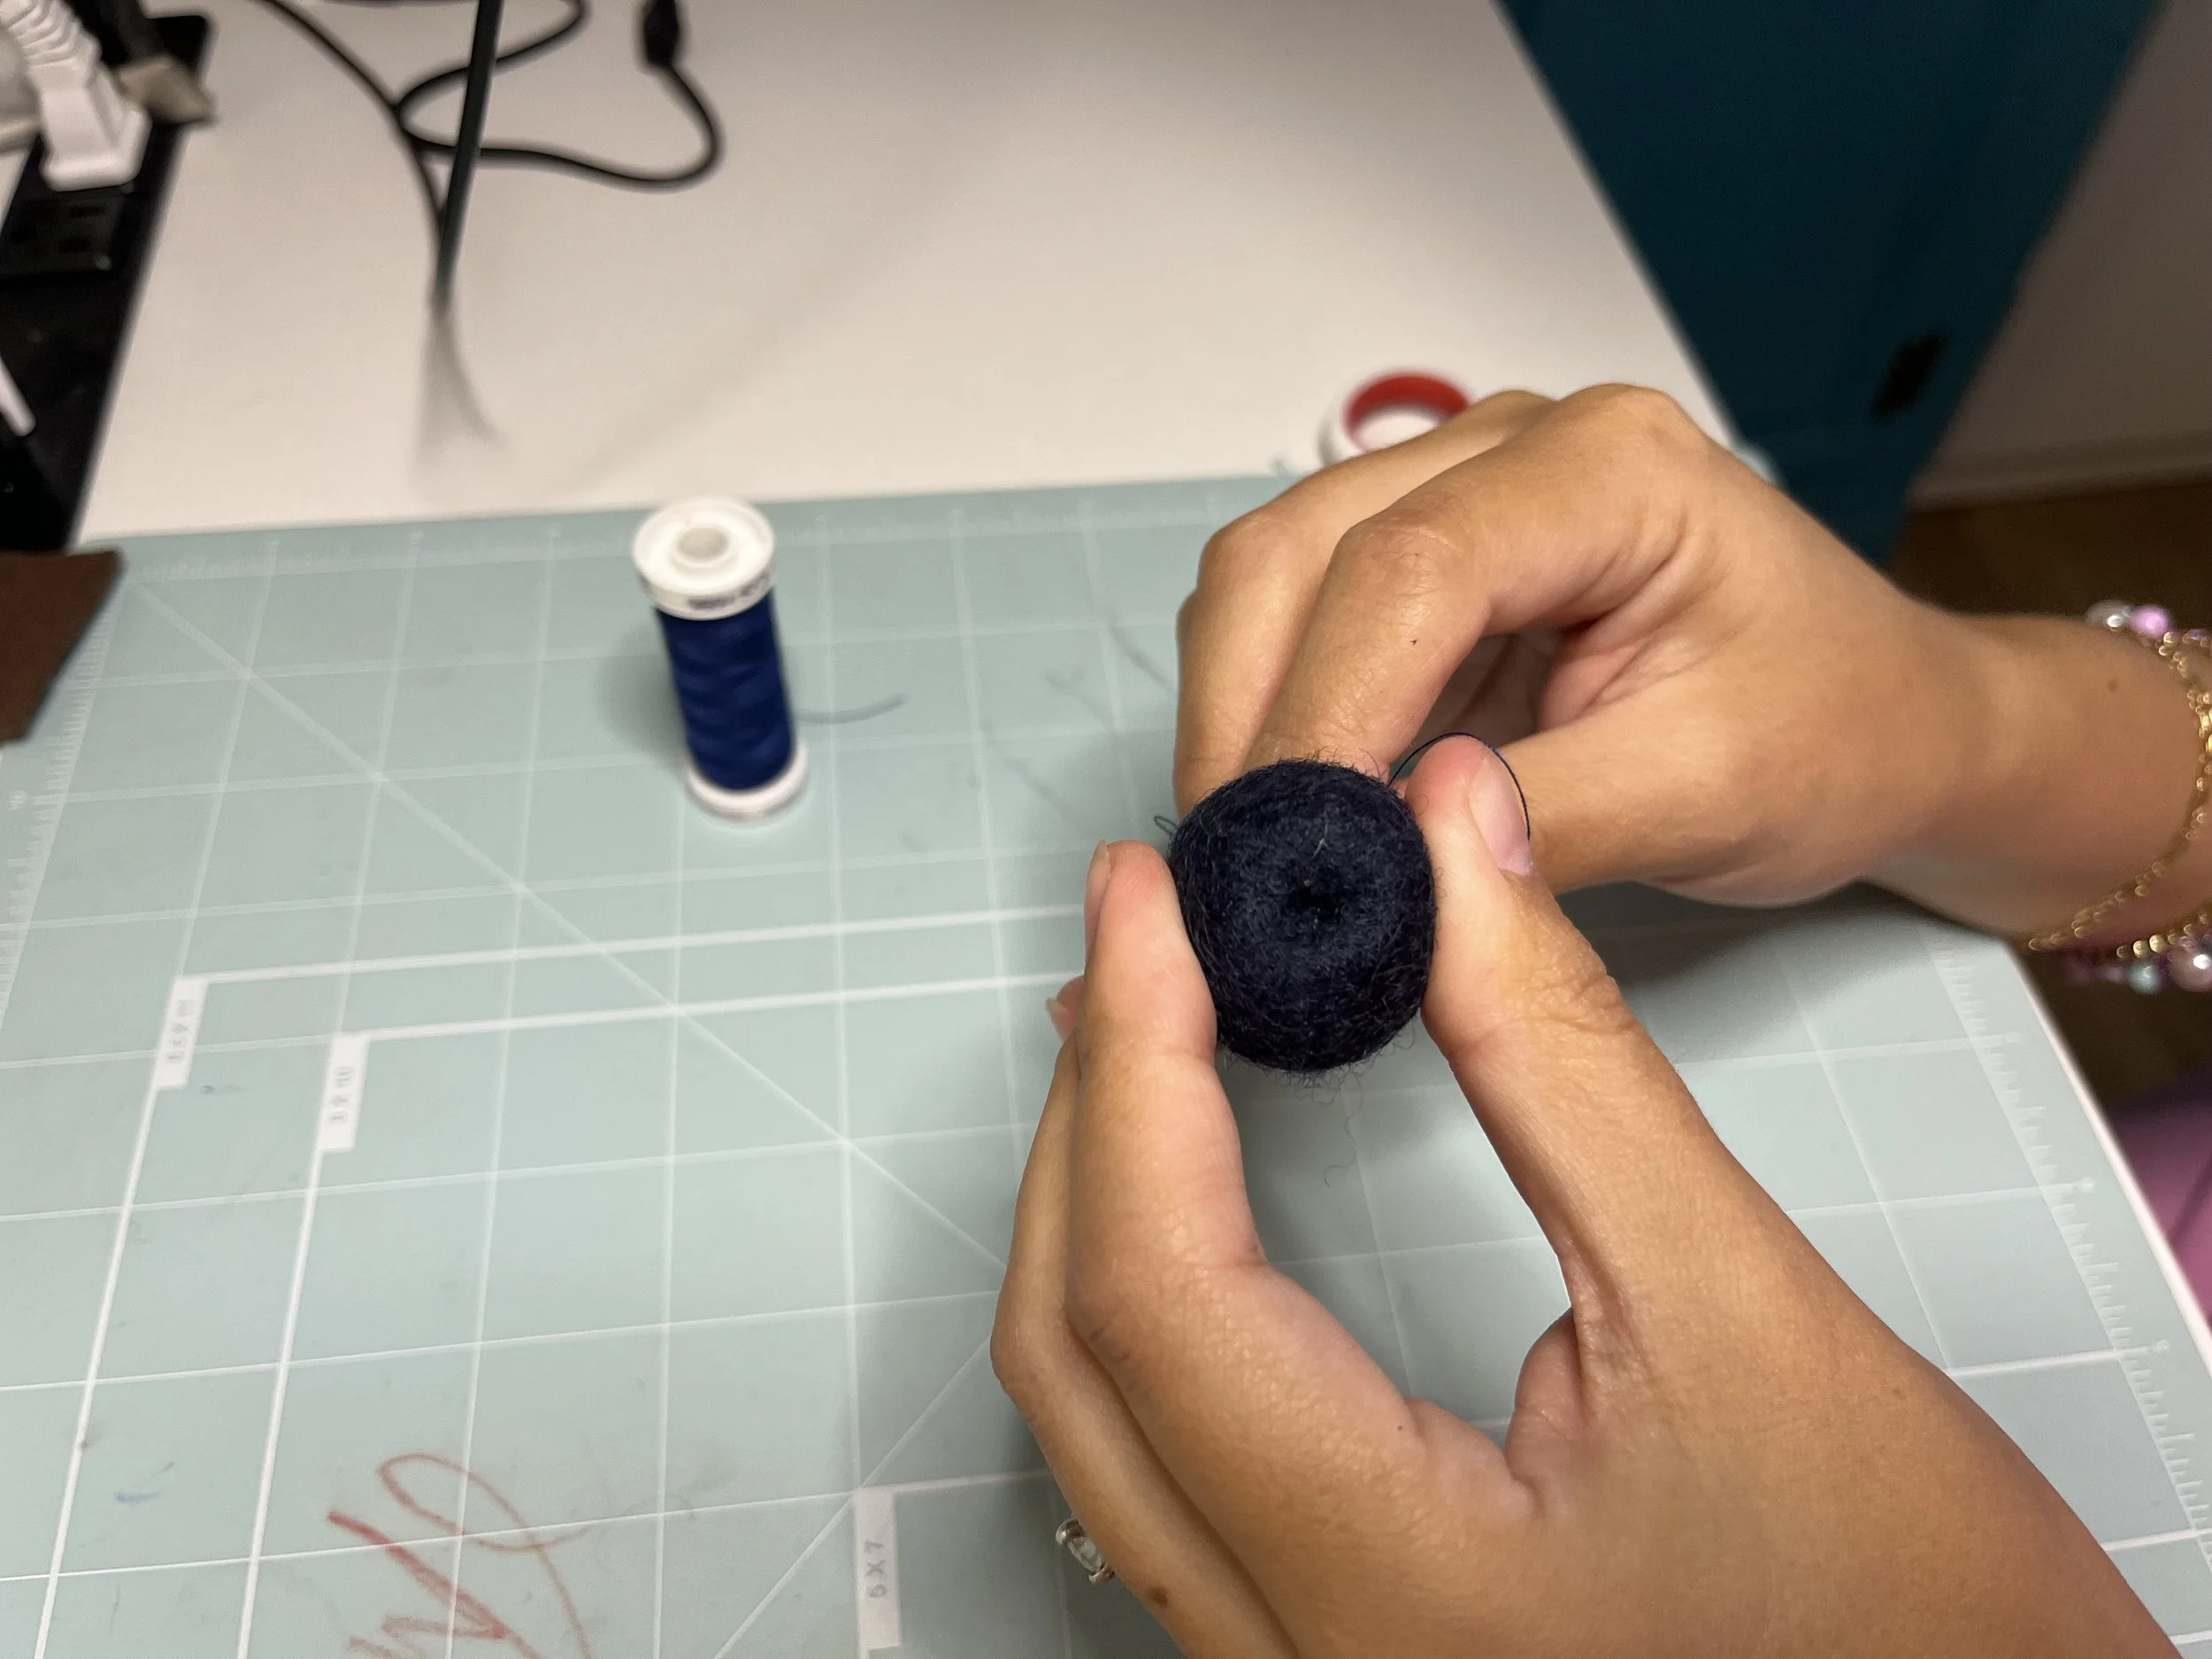
To begin, we first cut some thread, you can start out with about arm’s length, and thread your needle. As with most projects, once your needle is threaded, tie a knot at the end of your thread. I like to call this my “anchor knot”. Once that’s been done, push your needle into the center of your felted ball and pull all the way until your knot hits the end of the felted ball.
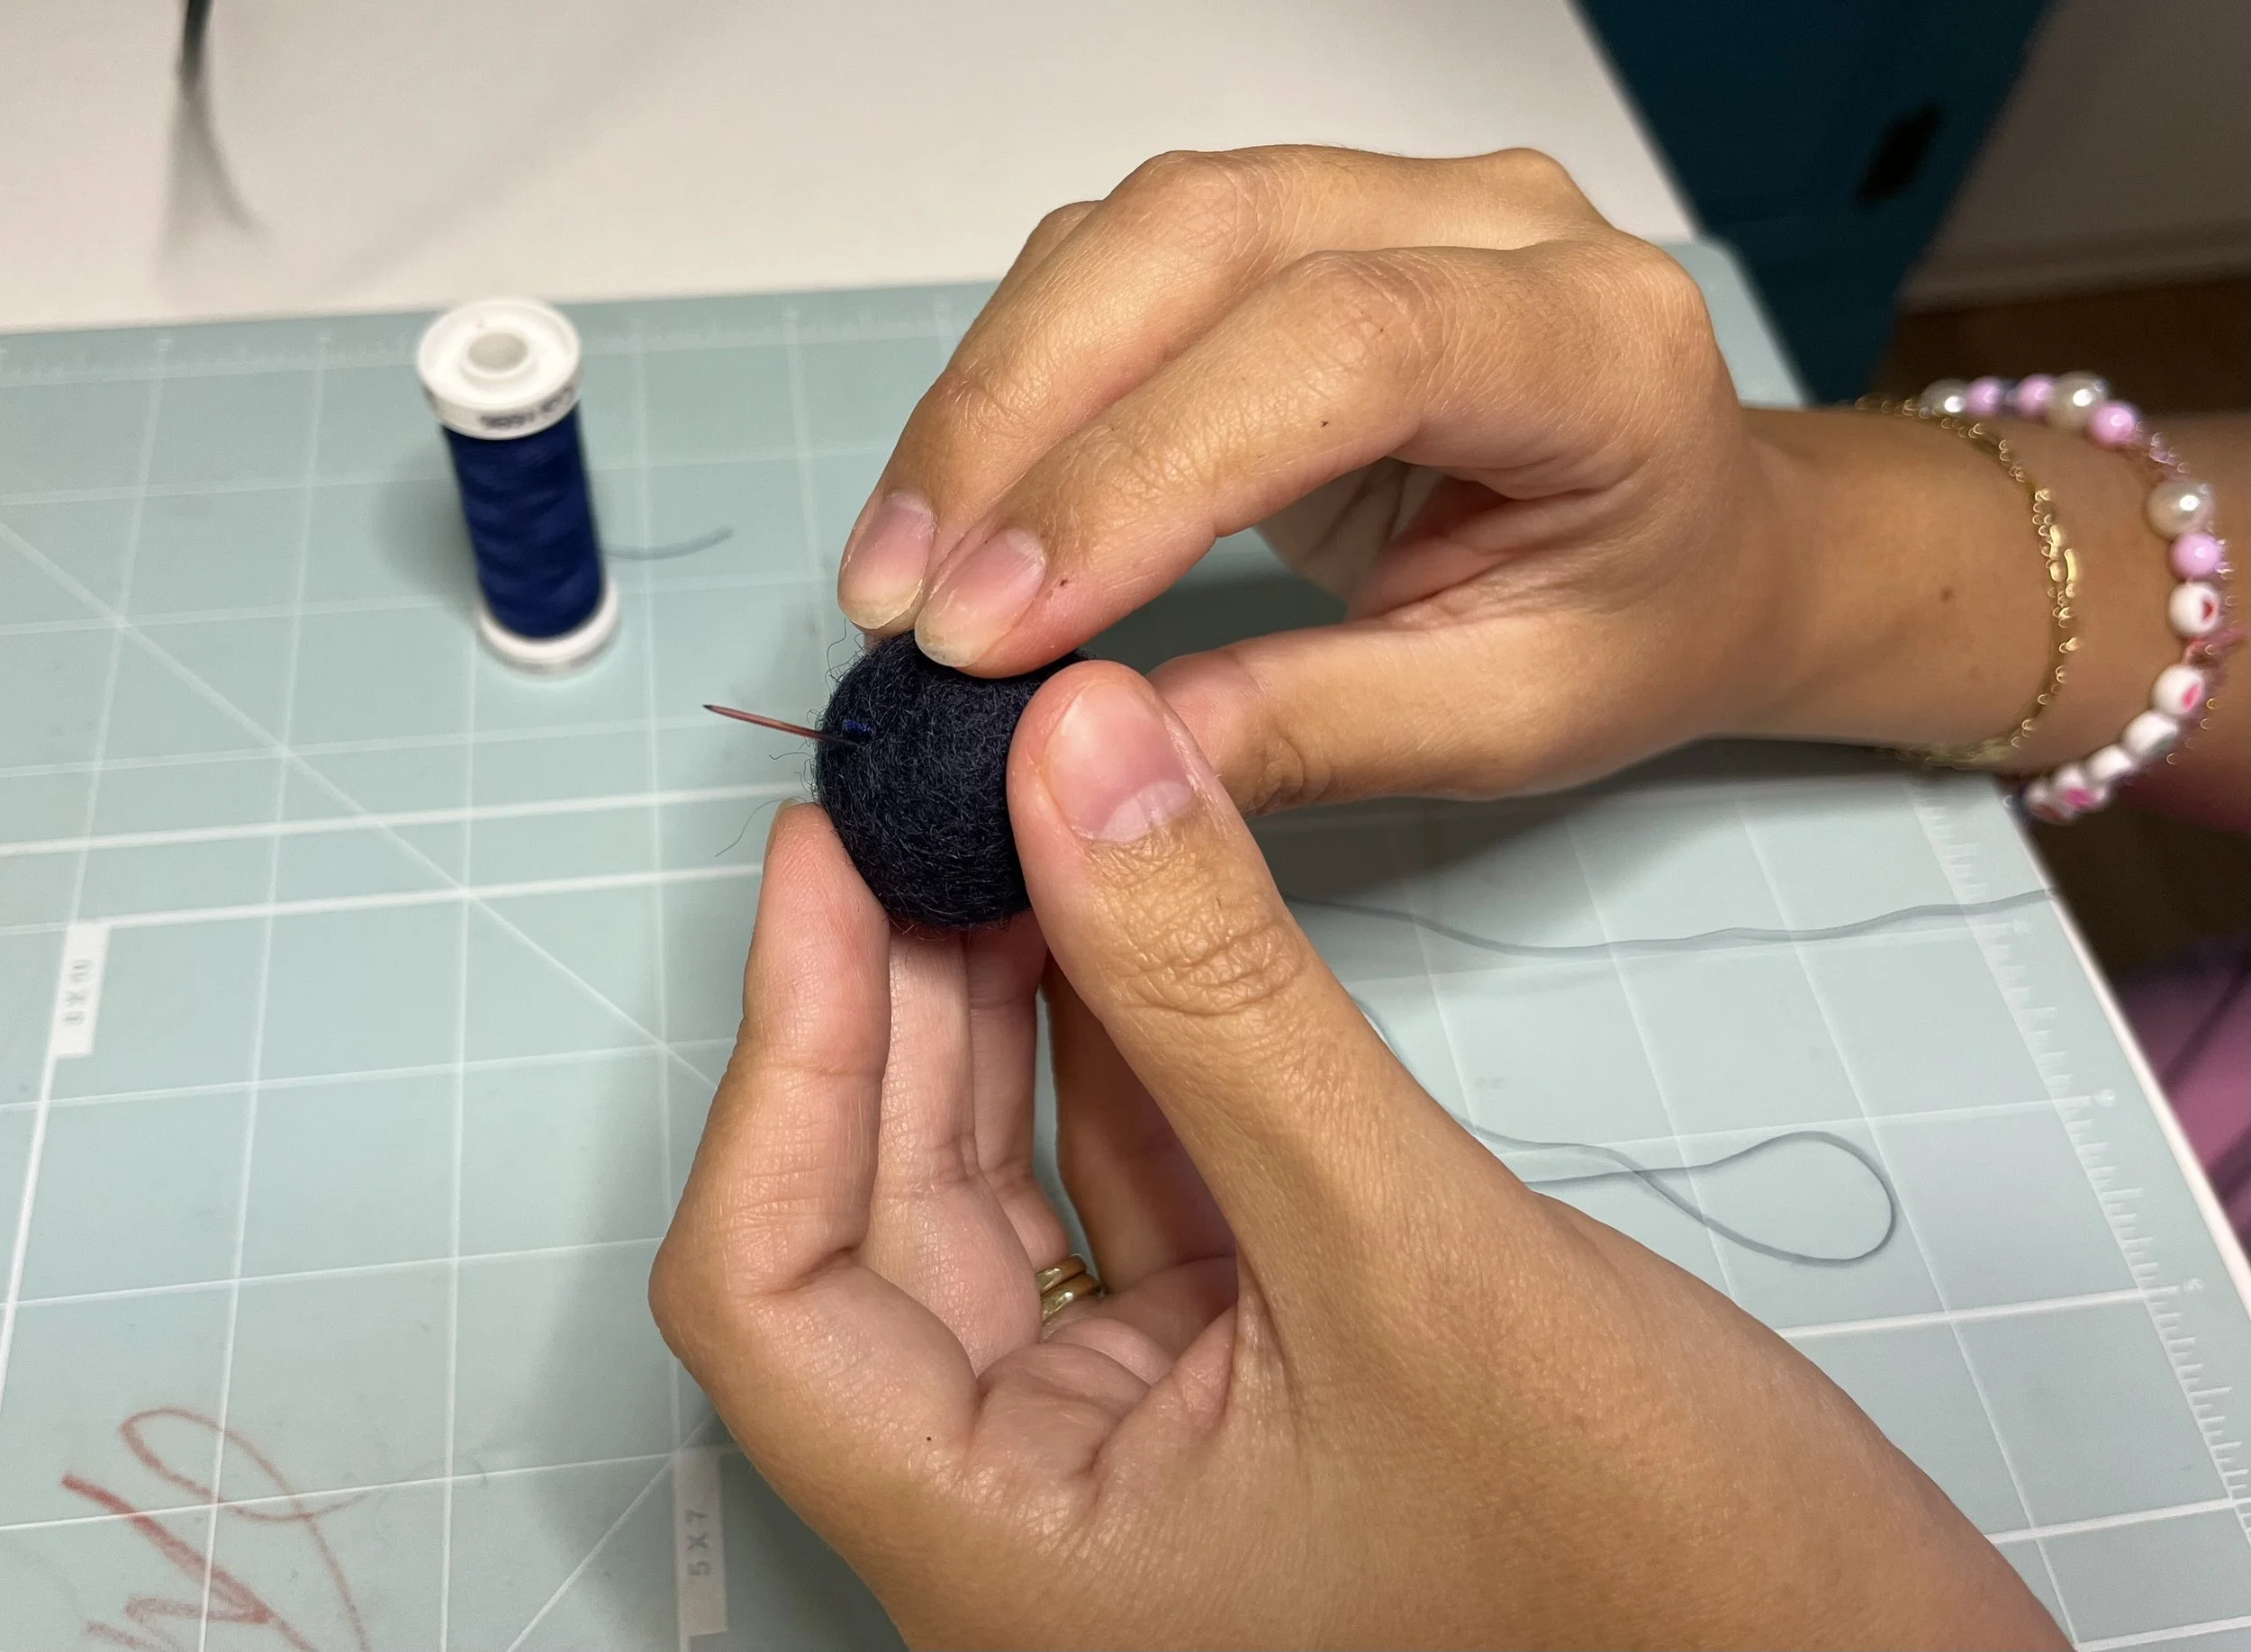
Sew through the center of the felted ball.
Then you’re going to grab your little light blue flower-shaped cut out and sew right through the center of that as well. Pull it all the way through your thread so that it then sits on top of your felted ball. This little “flower” serves as the top of a blueberry that puckers out. I like to use a lighter blue, just because it looks cuter than keeping it all the same color. After all, these blueberries were intended to be played with by little hands.
HOT TIP : For most of my felt cut outs, I use images or shapes found on the Cricut page and use my Cricut maker to cut these out in bulk. If you plan on using a Cricut for any of these, be sure that you are using a rotary blade to cut through your felt. Any other blade will not cut through, especially if you are using a wool blend felt and not acrylic.
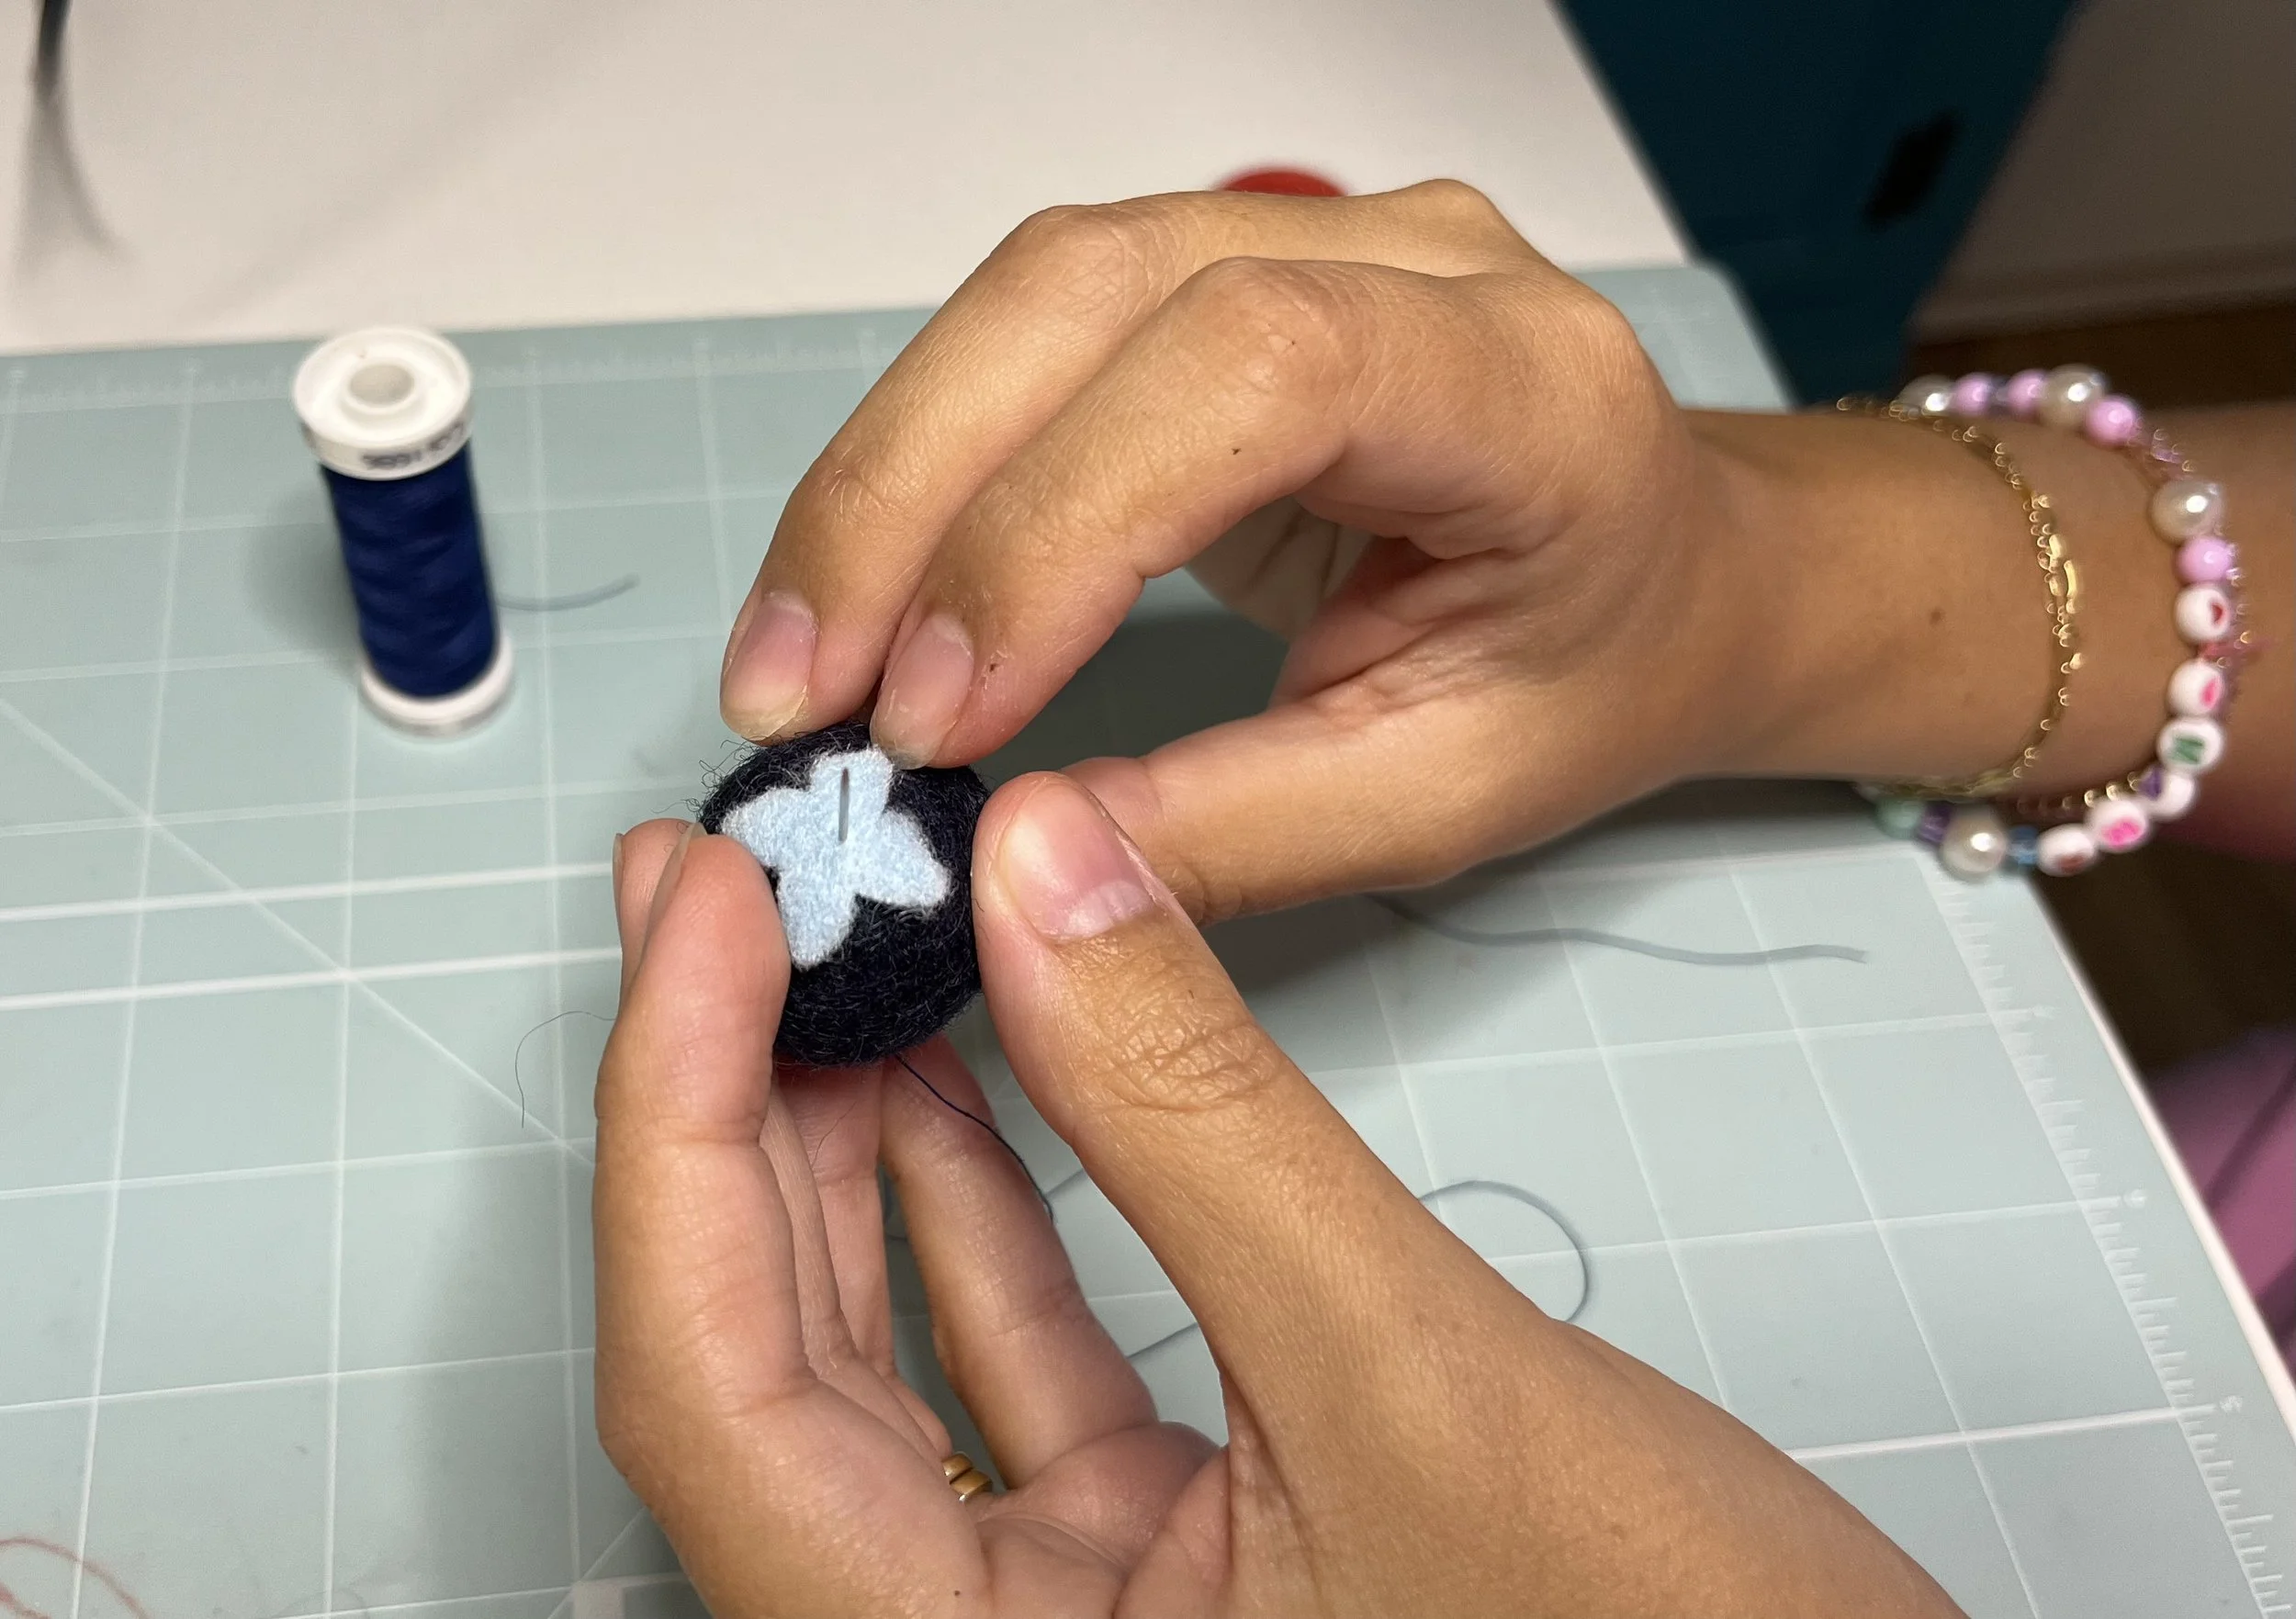
Pierce through the center of the small flower-shaped felt cut out.
Once you’ve got the thread running through the center of the flower, you’ll need to secure it in place by sewing down each of the “petals”. Start with one petal and sew down through the bottom of the blueberry.
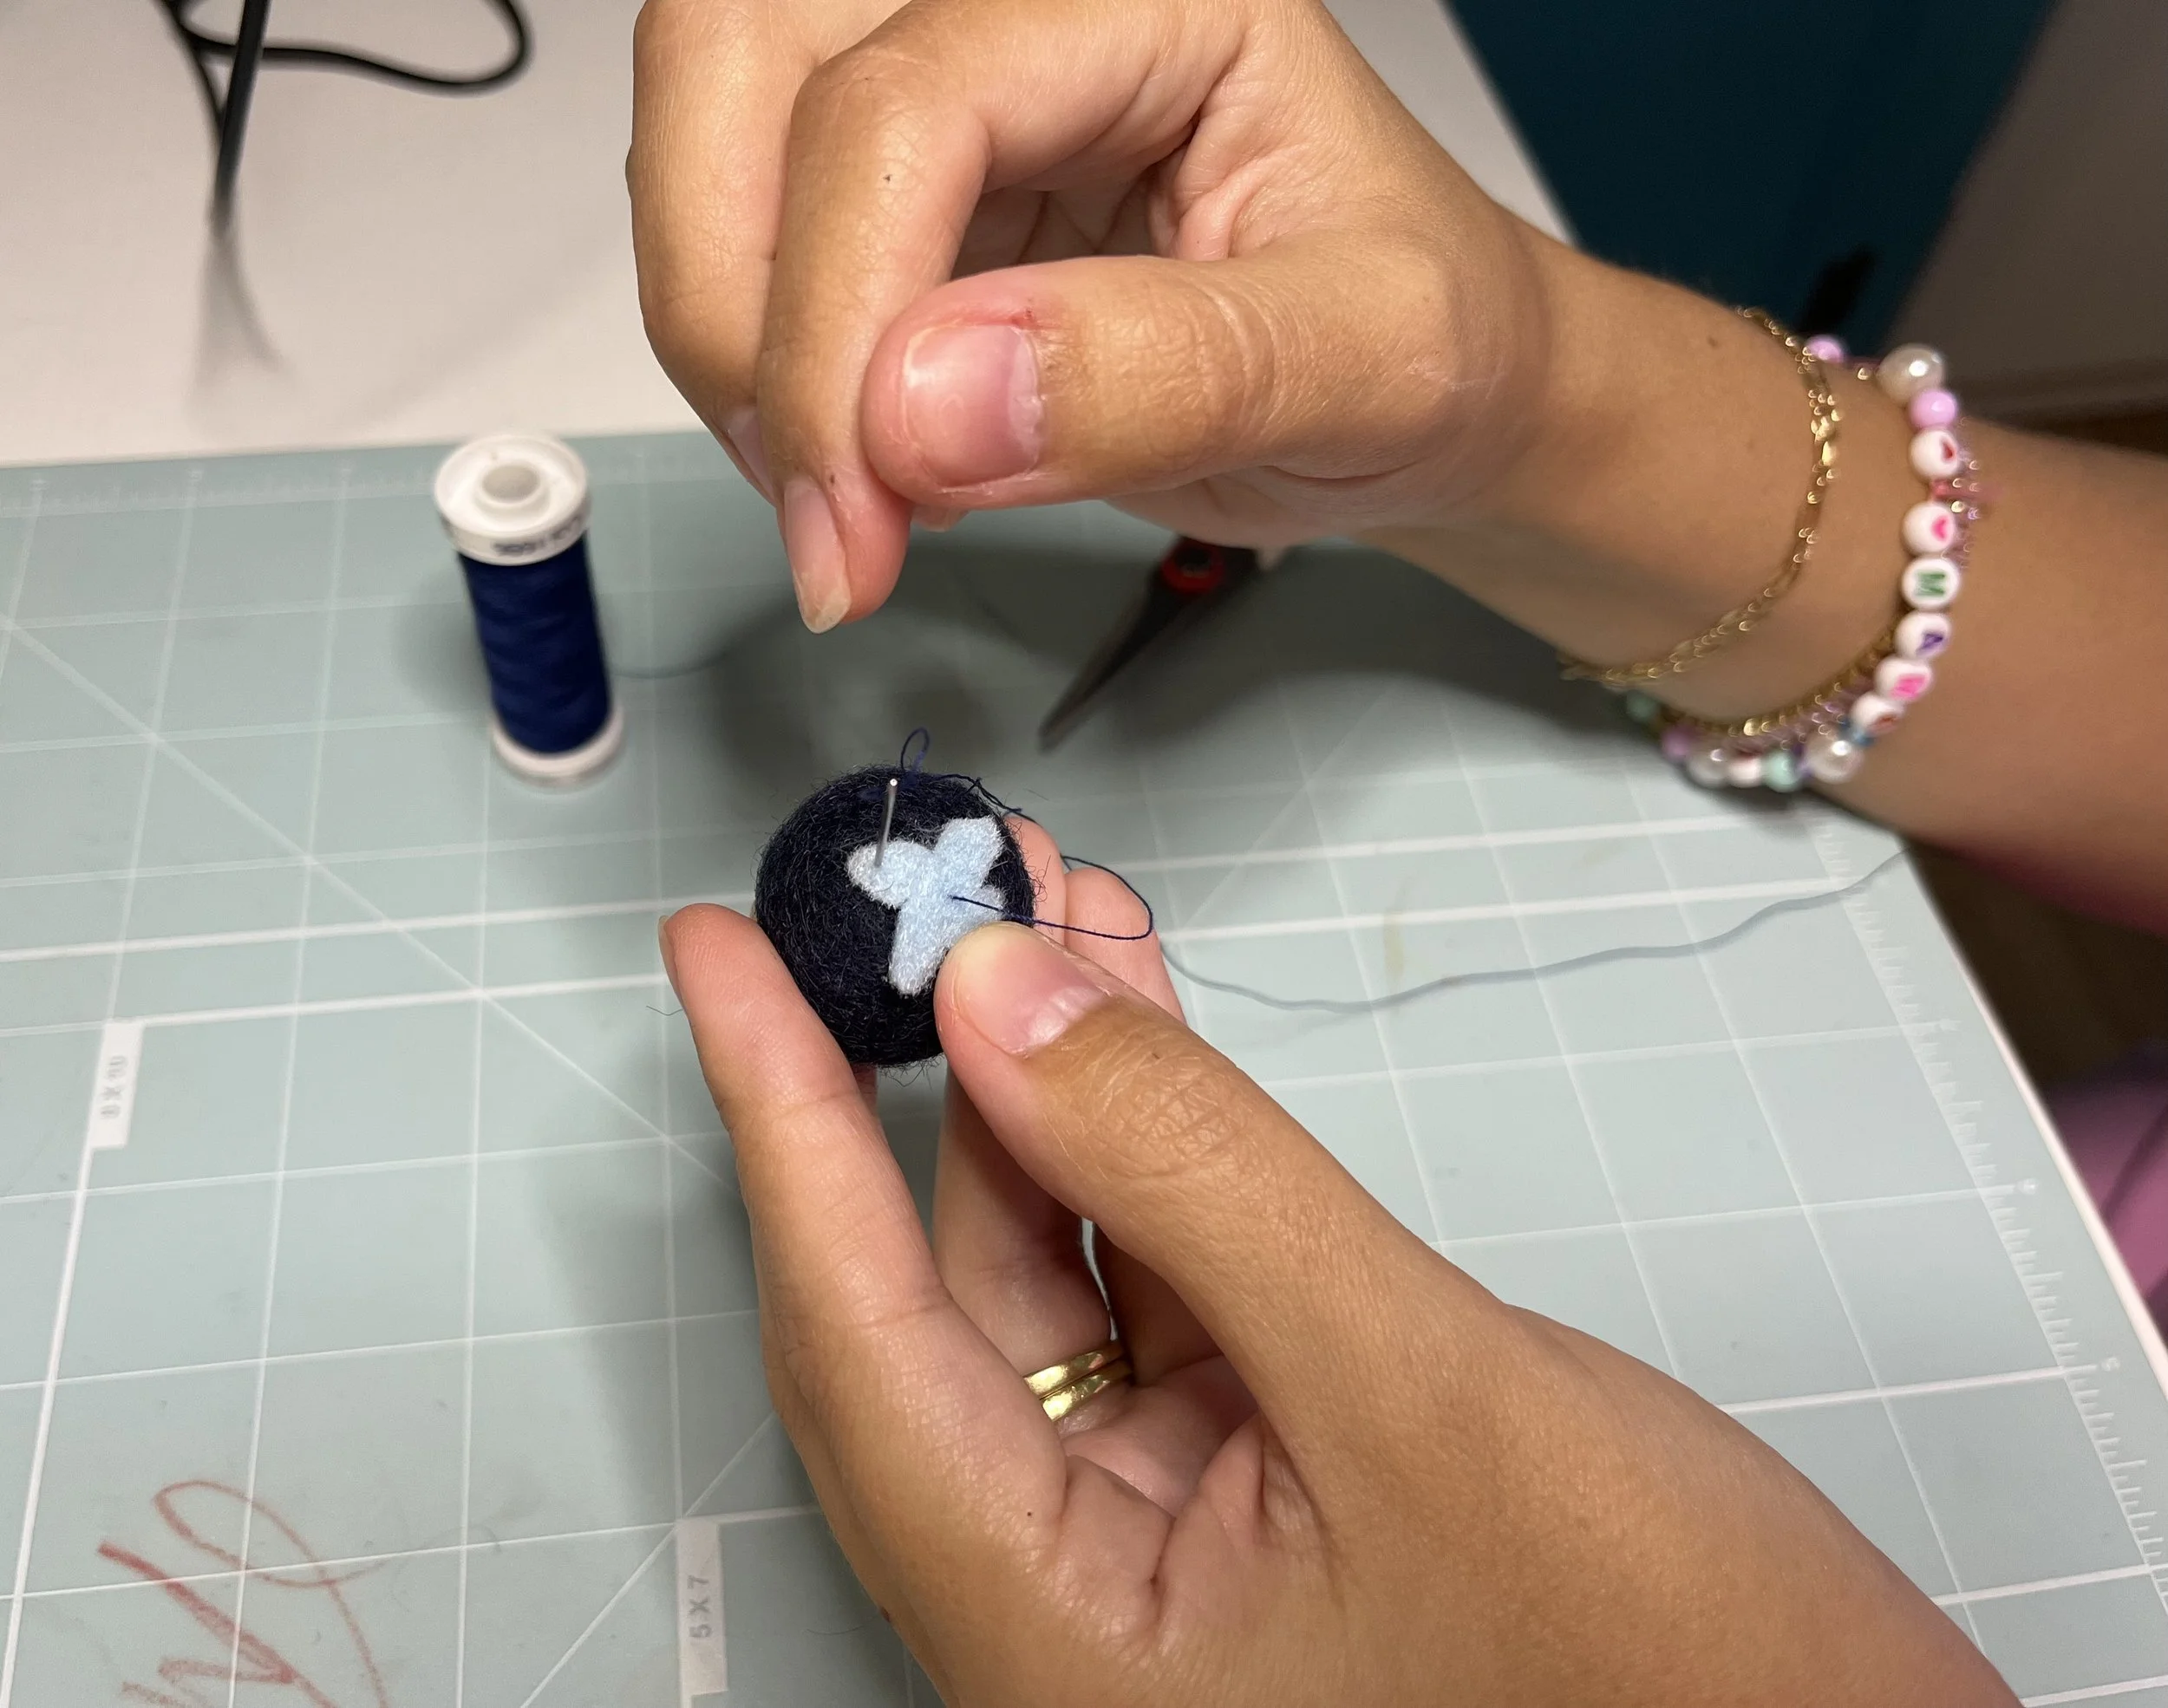
Start sewing each petal down.
You’re going to continue this process with each petal, making sure to try pulling the thread down on the same spot through the bottom of the blueberry.
Sew the rest of the petals down as well.
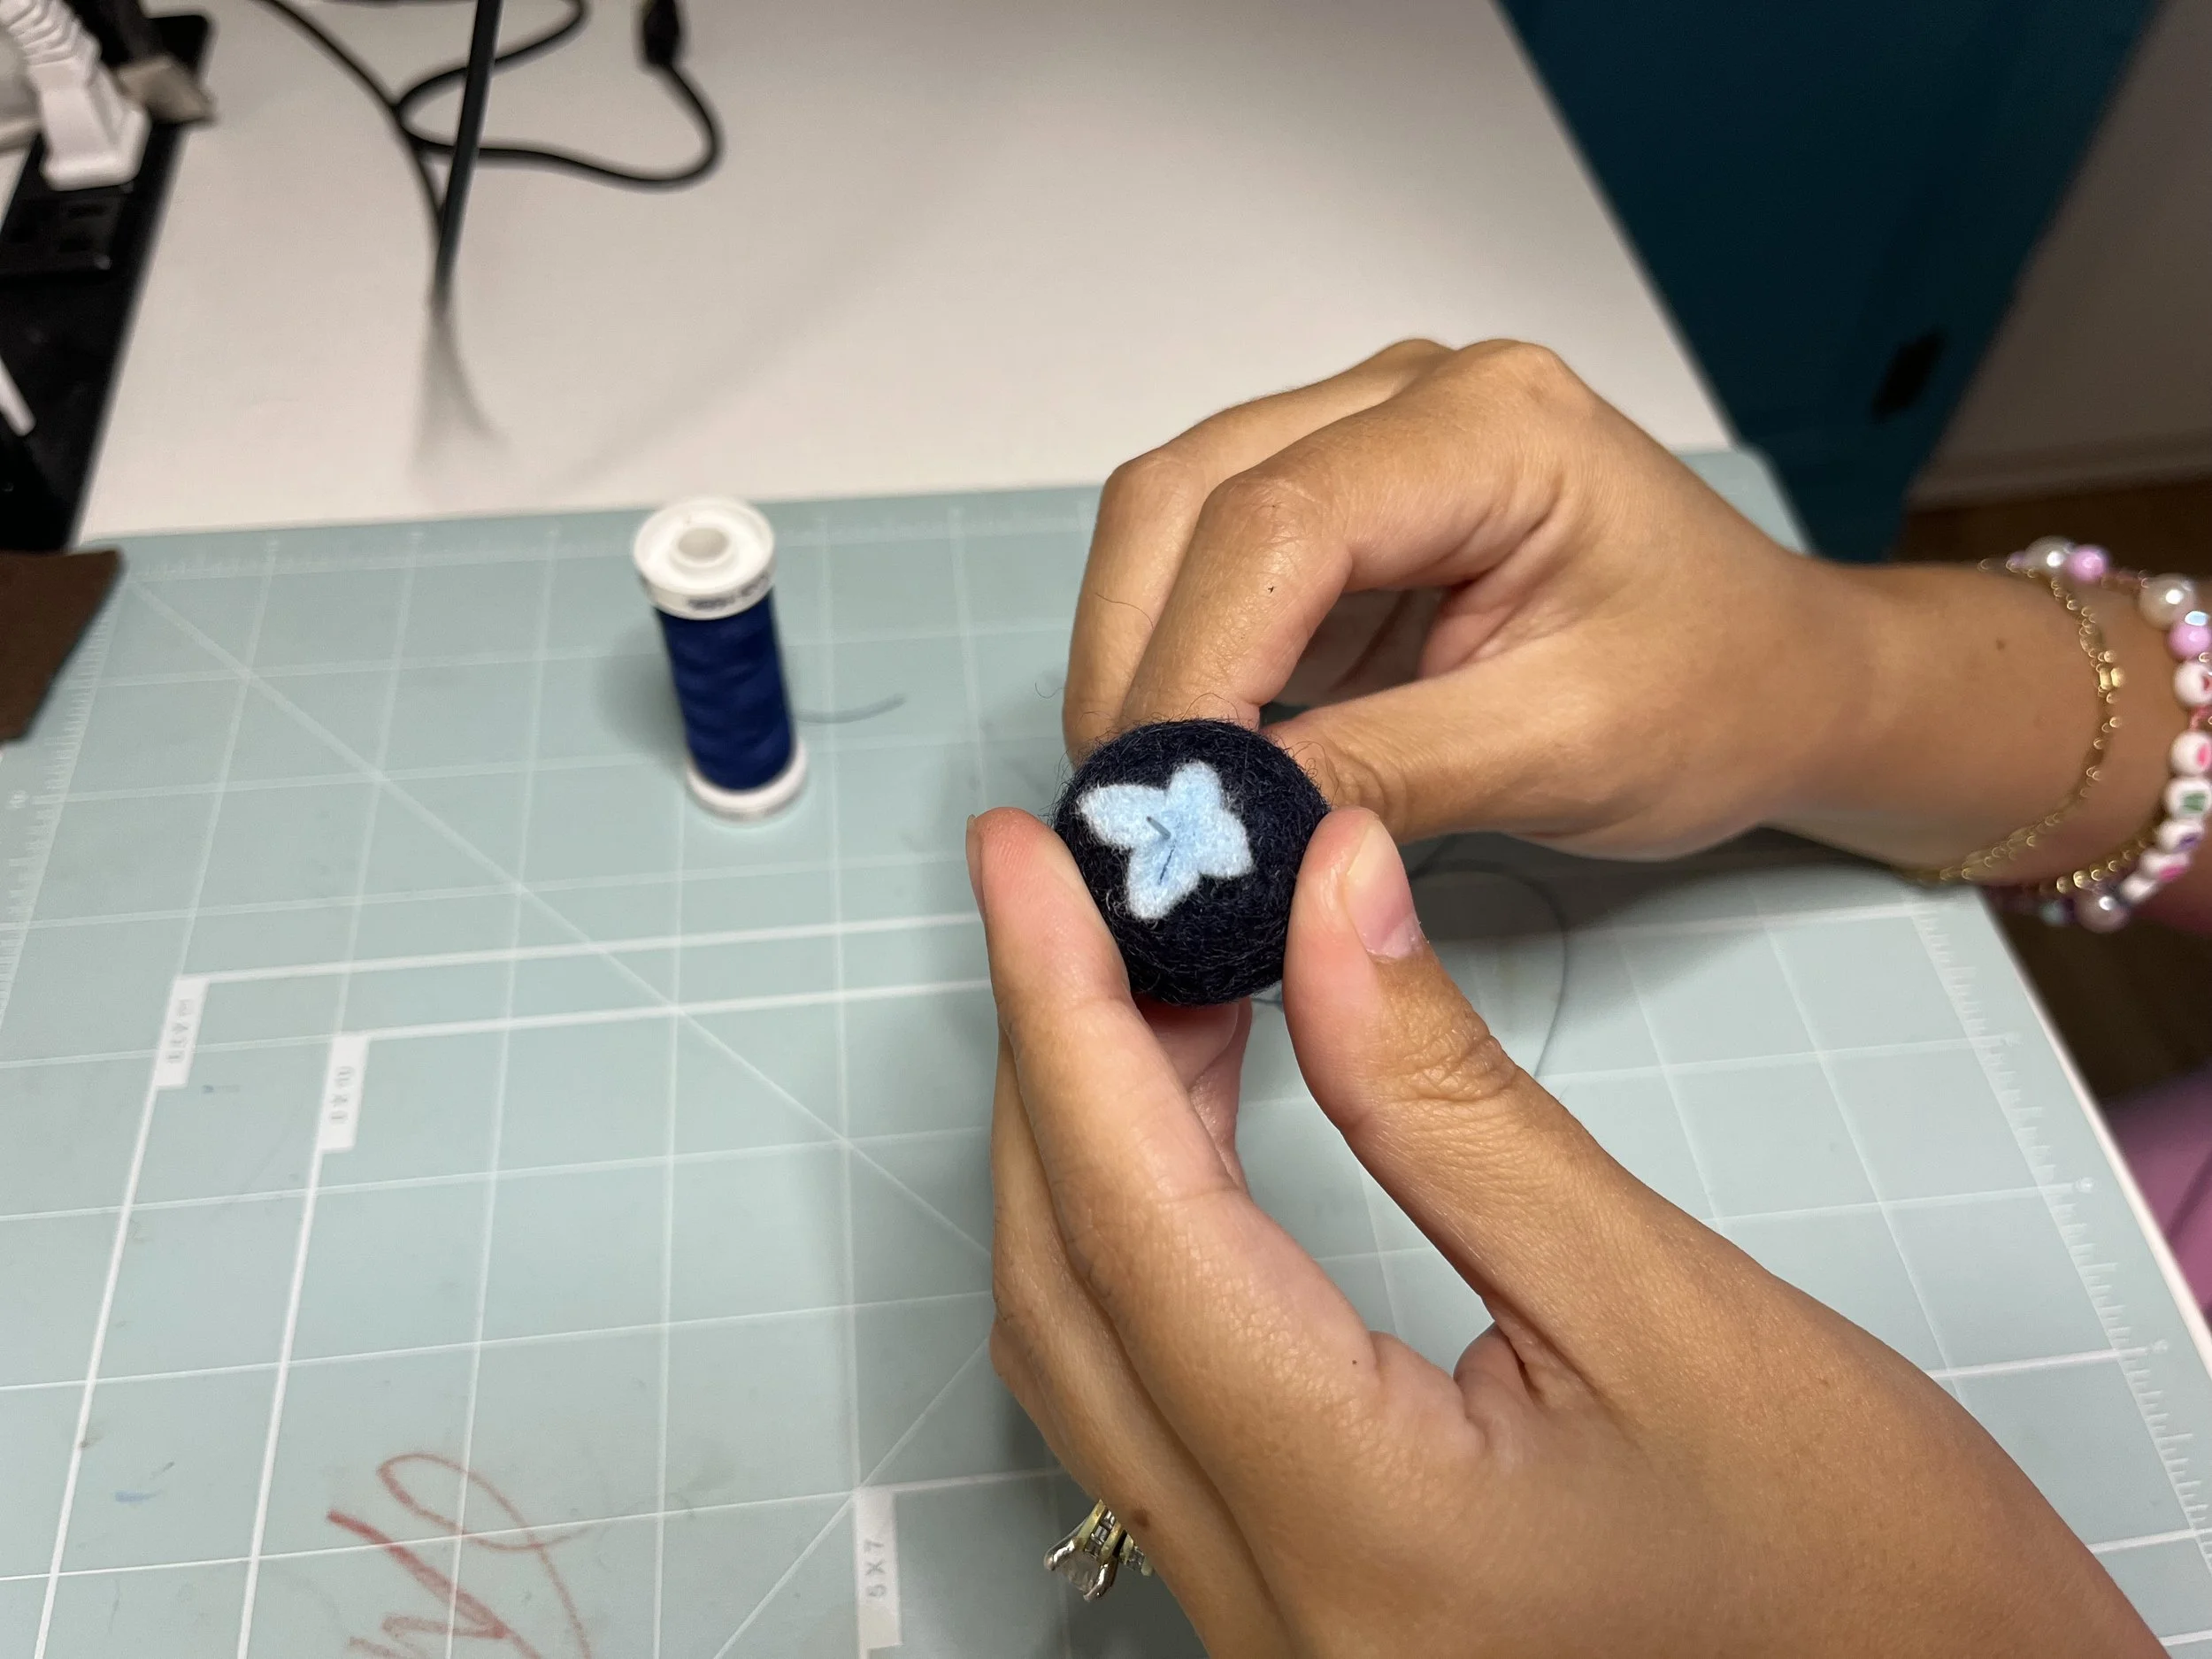
You’ll notice that the bottom of your blueberry will be puckered in. This is totally fine, and I like to call it the “butt” of the blueberry ‘cause it looks like a… well, you know. Go ahead and continue this process until you’ve sewn down all four petals. Usually with my felt products, I’ll say not to pull the thread too tight because it warps the felt, but in this case, it actually works in your favor. So try to keep those stitches nice and tight.
The blueberry butt.
Now that all your petals have been sewn down you should be left with thread coming out of the bottom of your blueberry. So let’s finish this puppy off. If you’re not sure how to tie off your thread, one simple way to keep all your work secure is to sew right back up through the “butt” of your blueberry through the center of the flower over and over again tightly. I like to do this about three times to keep your thread nice and secure. Then cut off your excess thread and you are all done!
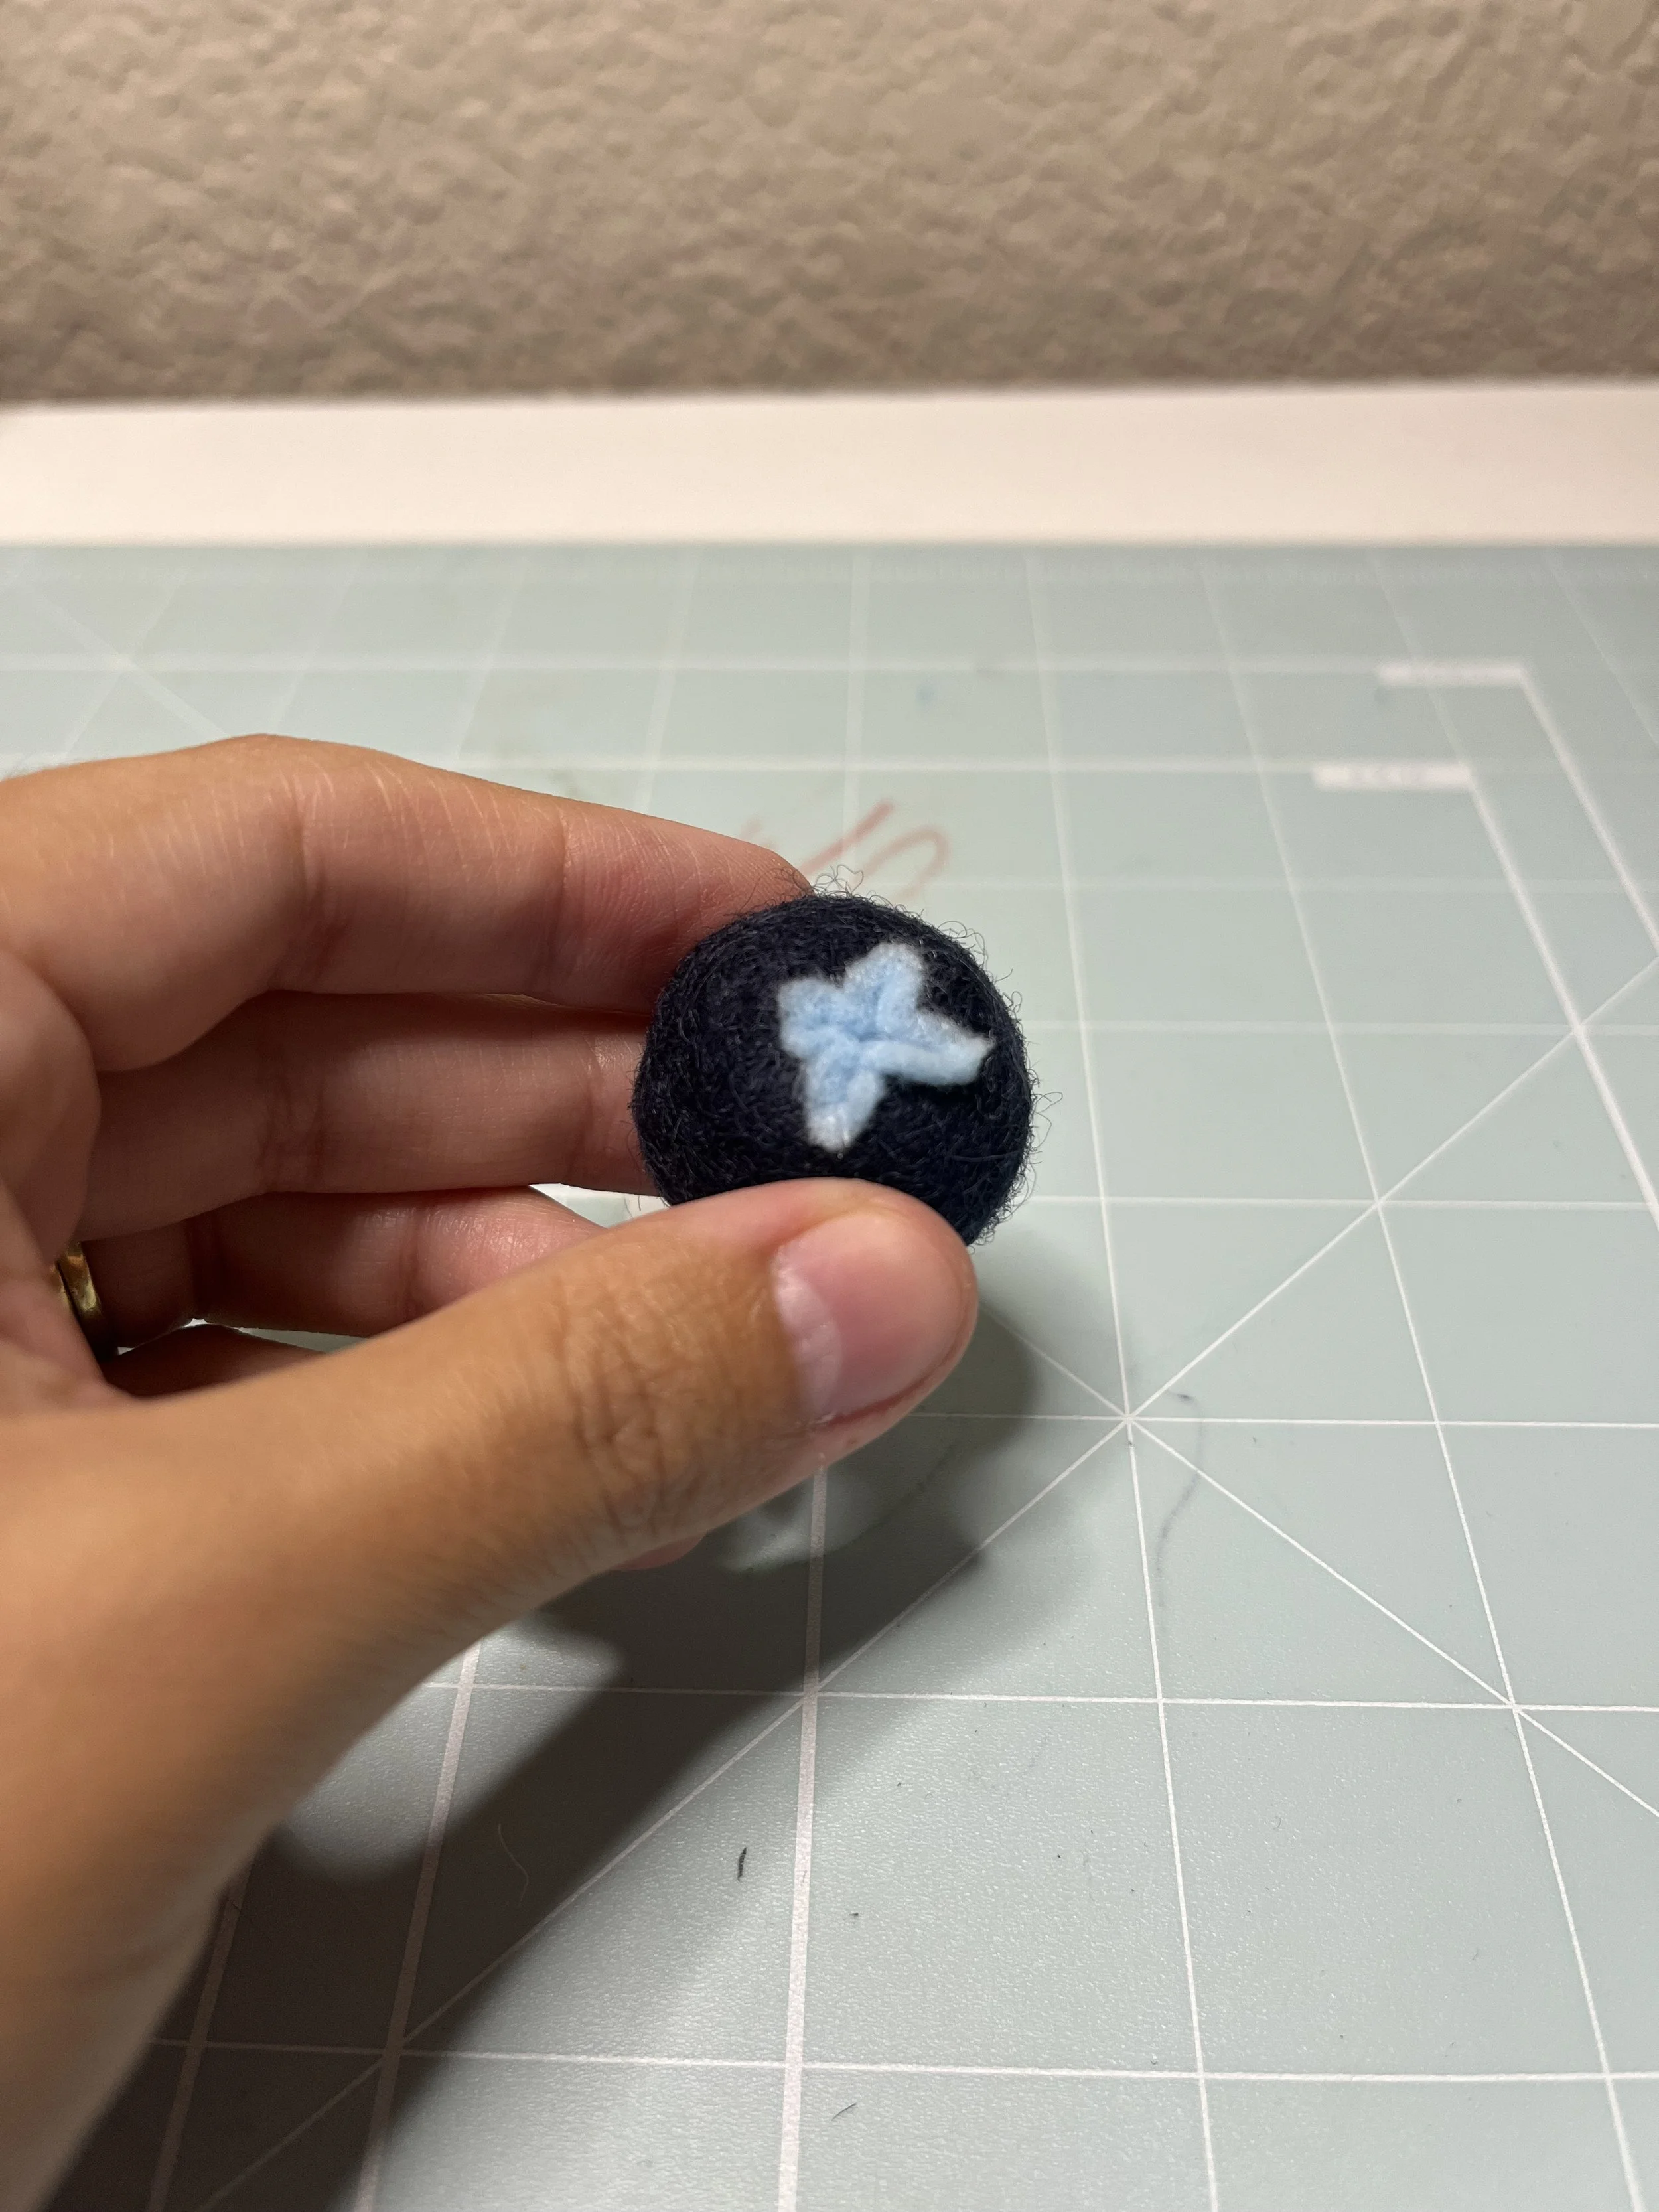
A finished blueberry!
What I love about these, and most handmade toys, is that they’re not meant to look perfect. Some petals might come out a little wonky, or maybe your stitches aren’t perfectly centered. That’s what makes these so special - they are made by hand, with sweet intentions, and your best efforts.
I hope you enjoy making these cuties as much as I do! I’ll be continuing posting these “Sew with Me” tutorials and also some fun ideas on projects you can make with some of the products I sell, so if that sounds like fun to you, check in weekly to see what we come up with!
HAPPY SEWING!
My Journey
It all begins with an idea.
Hi. I never thought of myself as a blog person, and yet, here we are. But I have big plans for the community I’d love to build through Felt Kisses - a collective of artsy fartsy craft fanatics, all inspiring each other and building each other up, and what better way than to start that with a blog?
So, first things first, I’m a mom of two wild children, married, and living in Lodi, California - The cutest lil’ wine town in Central California. I am very much the type of person who hyperfixates on a new hobby, makes it my entire personality for a few months, then obsesses over something else and restart the cycle. Acrylic nails, hand-painted press on nails, jewelry making, painting, embroidery… you name it. But sewing has always had a special place in my heart.
My grandmother taught me how to sew after she noticed I would be completely captivated at watching her embroider little vegetables onto square cloths she used to keep fresh tortillas warm. (So niche, I know.) After a while, her hobby became mine too and she would send me home with my own cloth and thread to work on at home. I was always so proud to come back the next weekend and show her my finished product. It was a skill I carried with me and worked hard to improve on as the years went on. I’m a 32 year old woman now, and a skill that I learned when I was 10 years old has turned into a passion that I’m (hopefully) building into a successful business that I can call my own.
I have so many ideas for this website - tutorials, product ideas, “sew-with-me” videos… etc. And I am so excited to start this journey with you. So come with me! Truly, I don’t know what I’m doing, but let’s figure this out together!